
Today I hope you'll link up and tell us your experiences with free motion quilting. I'll be linking my own post up within the next two weeks, too (though I'm not eligible for prizes, you are, of course! Link up your post at the bottom to be in the running to win a fabric prize from myself and 1 Choice 4 Quilting in February!)

Christa from Christa Quilts! is just an amazing person all-around! She offered to contribute to the series with the post that follows. She posted it first on her blog. Please check out Christa's blog and shop (awesome deals and discounts - 20 to 50 percent off! Treat yo'self :) ).
--------------------------------------------------------------------------------------------------------------------------
Sewing with Certainty - Yes, You Can Quilt It Yourself!
I love to encourage others to try their hand at machine quilting. I've blogged about getting started with free-motion quilting here and some of my favorite FMQ tips here.
The number one tool I like my machine quilting students to acquire costs nothing, and everyone has one of these if they know where to look:
It's a "can-do" attitude. :-)
Before you feel like you need to jump in and quilt elegant feathers or spend a ton of time stitching intricately quilted designs, try these tricks instead for effective, quick results:
(1) Don't underestimate the capabilities of your walking foot.
You can add amazing texture to your quilts with simple straight (or not-so straight) lines. I quilted Baby Bricks by marking a series of straight lines across the diagonal of the quilt and quilting them with a blending cotton thread.
- Baby Bricks Quilt Along by Christa Watson

This was an effective way to quilt this quilt and it's enough to hold the quilt together so that it's washable and useable. However, I always like to add more quilting so I went back later and quilted many more rows in between the original lines. I didn't mark any of the extra quilting. I simply used the edge of my walking foot as a guide.

(2) Try stitching "near" the ditch.
Stitching in the ditch is boring and time consuming, so I came up with a jazzier way to quickly quilt the seam lines while adding a little texture. Use a built-in decorative stitch with your walking foot and quilt across the seam lines so you can see it. Most machines will allow you to change the stitch length or width for a variety of options.

This is such an easy way to quilt, even a child can do it! My daughter quilted her first quilt when she was just 8 years old. :-)
For my Li'l Rascals quilt, I quilted an unmarked grid with a very thin blending thread. I started by quilting roughly parallel wavy lines all going the same way:

I then turned the quilt and quilted perpendicular to my first set of lines to create an "improv" sort of grid. I love quilting textures that don't have to be evenly spaced!

4) Practice quilting on real quilts.
The best way to learn is by actually quilting on a real quilt. Don't stress too much about perfect tension or quilting designs. Try out your idea, dive in and do it, and then give the quilt away (to charity, or a family member or loved one). The recipient will love it and they will not notice your mistakes, I promise! It's much easier to push past your mistakes when the quilt will not be around as a constant reminder of your learning.
(5) Remember: the best machine for quilting is the one you have right now.
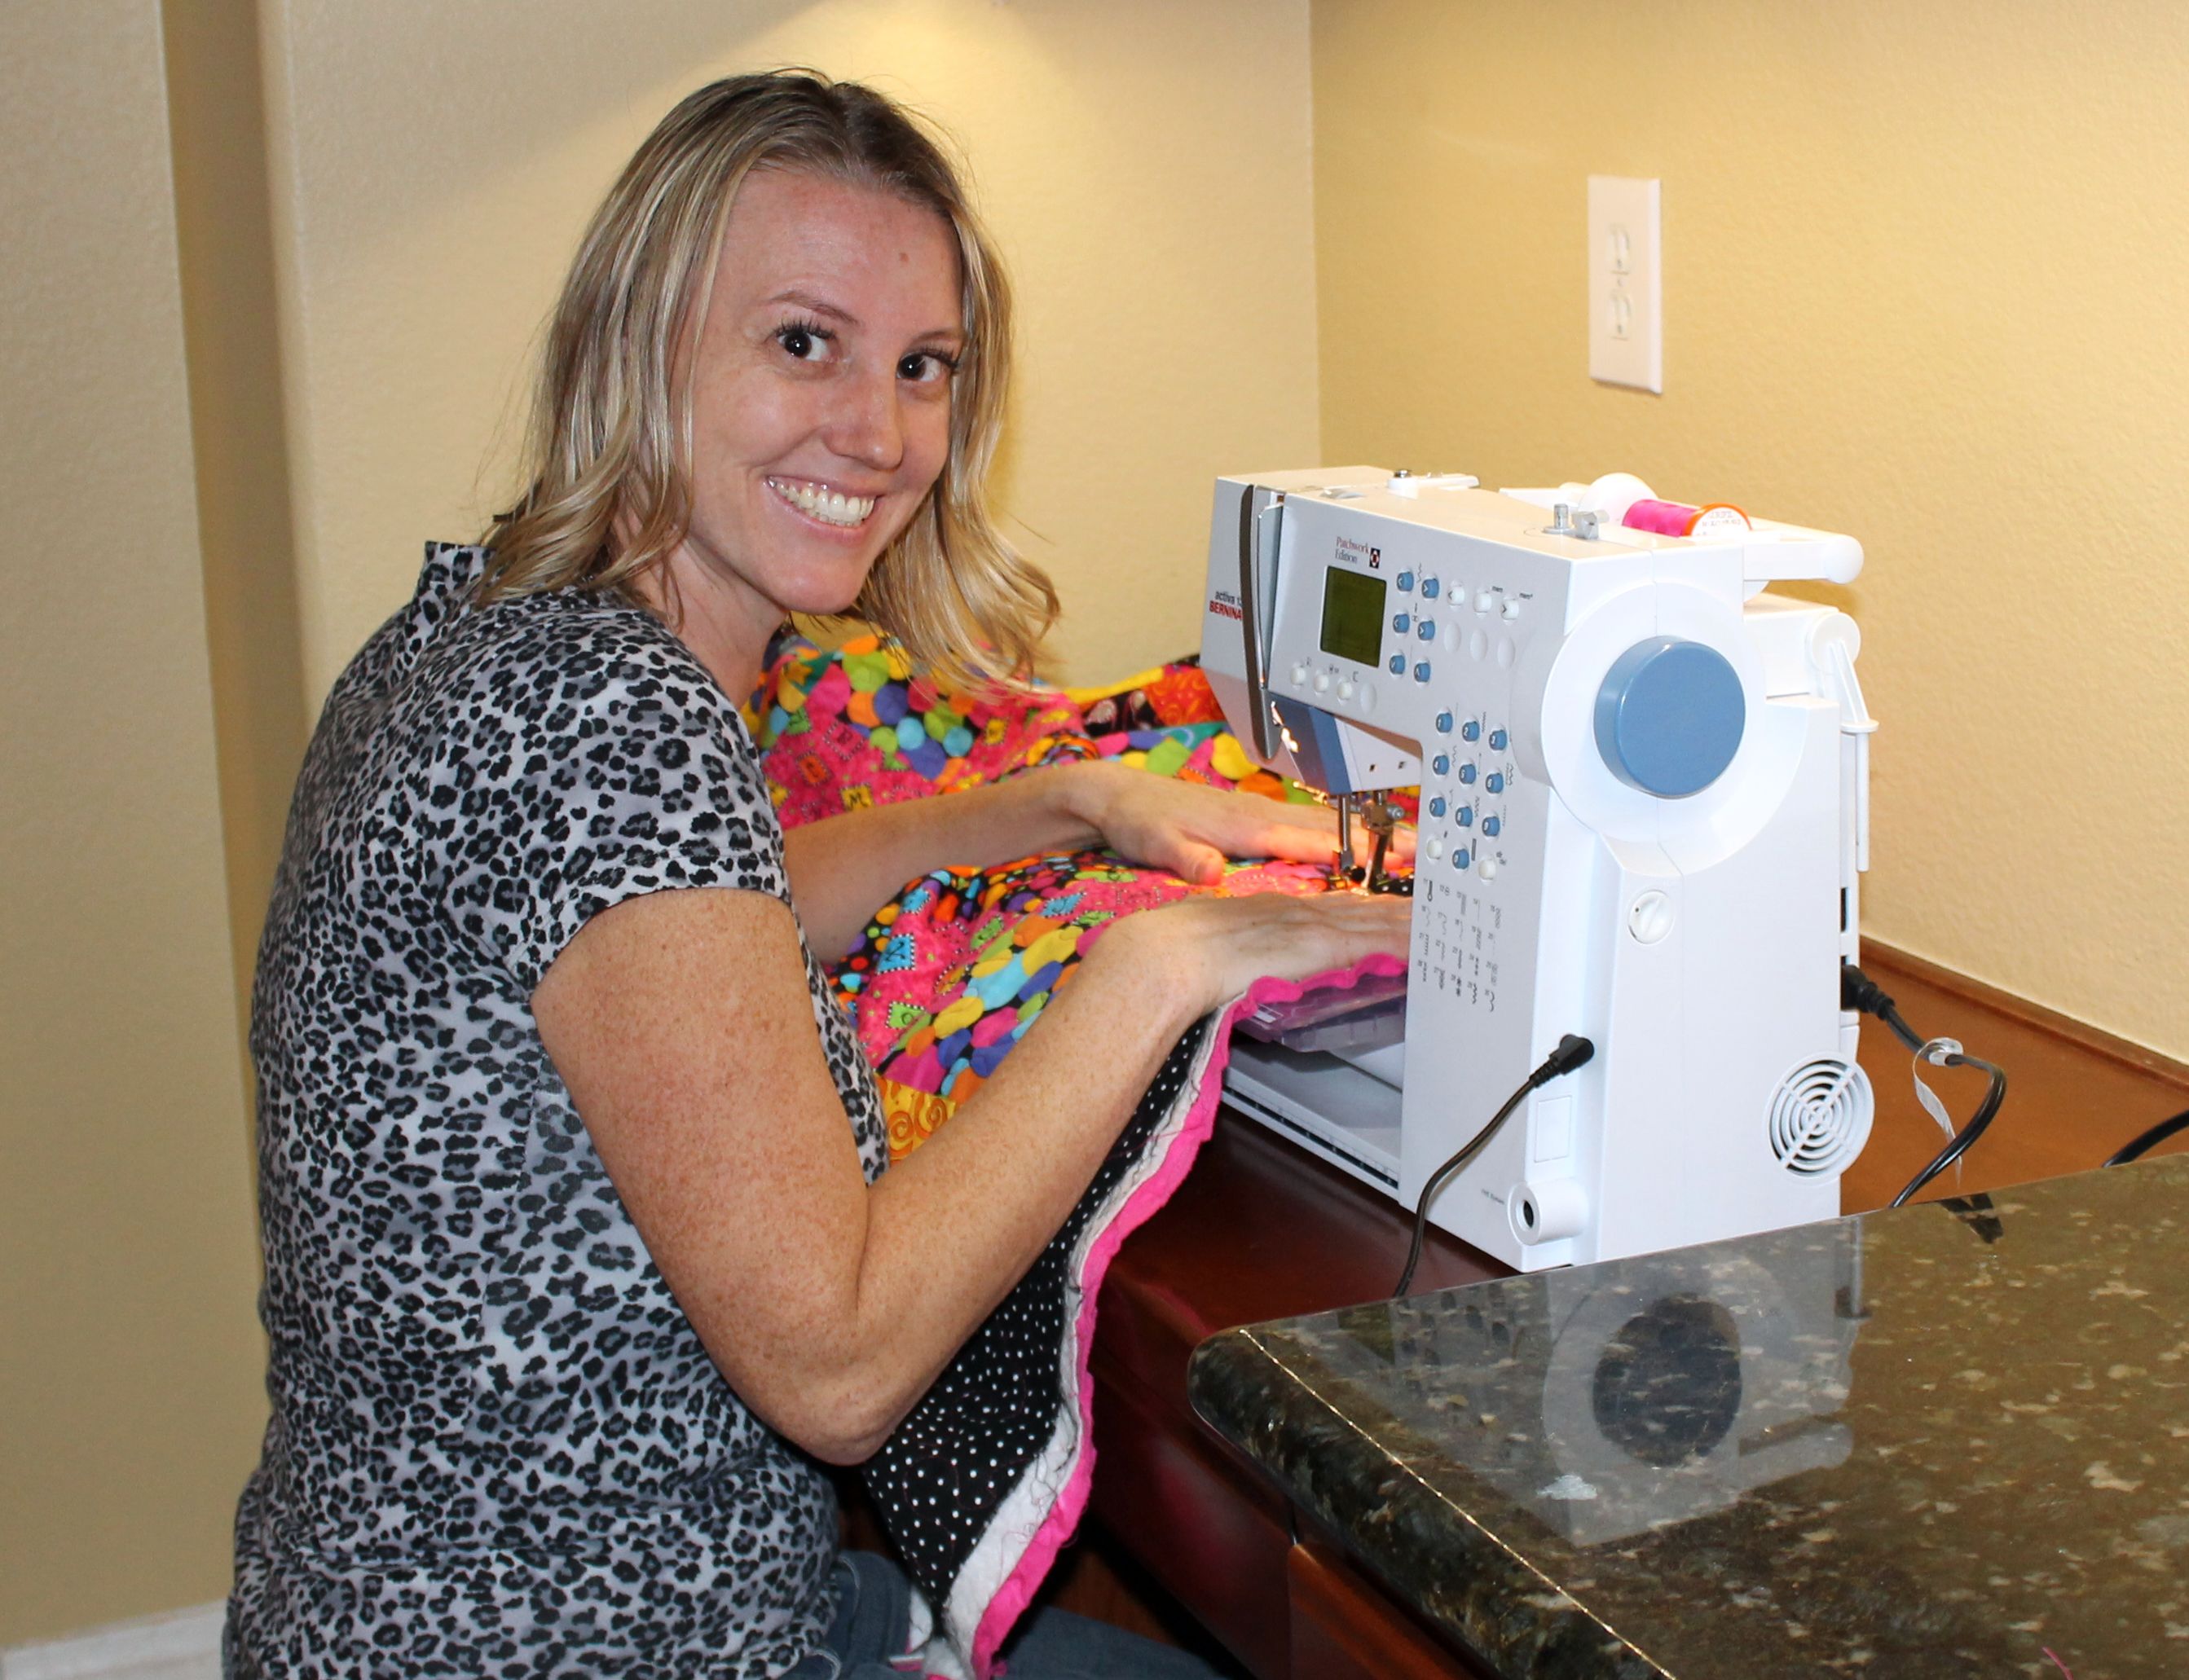
My friend Lacey is stipple-quilting her very first quilt! I gave her two rules when I agreed to teach her how to quilt. #1 - She wasn't allowed to use cheap fabrics. #2 She had to quilt her own quilt. :-)
- Lacey is working on her very first quilt. Whoo hoo!
- Closeup of large stippling, also called "meandering."

(6) Give yourself permission to make mistakes.
The beauty of machine quilting is in the overall texture that quilting stitches add to the quilt. When you step back from your work a few feet, things look much better than when your nose is two inches away from your stitches. And when in doubt, add more quilting! The best way to hide imperfect stitches is with more imperfect stitches. :-)
Think about it this way - if you are just beginning your journey into quilt-making, then your quilting skills will be at about the same level as your piecing skills. If you challenge yourself to quilt all of your quilts from the beginning, you can improve both techniques simultaneously, one quilt at a time!
-----------------------------------------------------------------------------------------------------------------------
Thanks again, Christa!! You are so encouraging and positive! Now it's your turn to share your experiences/goals with FMQ:
SWC Schedule:
- Sunday, November 3: First Linky Party! Write a blog post about the crafty areas in which you want to gain more confidence, and/or discuss a project you will be working on during the series that will help you gain this confidence.
- November 10: Choosing Fabrics
- November 24: Perfection
- December 8: Approaching New Patterns/Concepts
- YOU ARE HERE --> December 22: Free Motion Quilting (FMQ) with Christa of Christa Quilts!
- January 5: Creating Your Own Designs
- January 19: Showcasing Your Work with Laura of Little and Lots
- February 2: Writing A Sewing Blog
- February 9: Final Linkup! Write a blog post about a project you worked on during the series that helped you gain confidence in your skills.
- February 16: Prizes awarded from all Linky Parties!


I have quilted every quilt I've ever made -- a few on my quilting frame but most on my domestic machine using a walking foot. FMQ is a technique I need to come to grips with -- and I hope that occurs in 2014.
ReplyDeleteI'm so bummed I missed last week's link up! I kept thinking about it...and then being crazy busy. But I definitely have a few things to say on FMQ!
ReplyDeleteThe only issue I have is that at times when doing lines, my fabric will pucker. I am getting better with each quilt!
ReplyDeleteI have to agree, Jessica..... Christa is a wonderful all-around person and such an inspiring quilter. I really enjoyed her post. So encouraging and filled with great tips. And those pictures are so fun! Thanks for giving us this opportunity to link up and share our thoughts! Wishing you and yours a very Merry Christmas!
ReplyDeleteMostly all I've done is stitched in the ditch around letters that are pieced. Two days ago, though, I made a bib with sleeves and I machine quilted the front section. It wasn't very elaborate -- I made and "I" for the baby's first name (Inge) and then made bigger Is around it until I ran out of the ability to do that and then it was just straight lines from there. I'm not sure how clear the "I" is, and it was just a teeny bit of material so it wasn't a big test of my limited abilities, but it looked pretty good.
ReplyDeleteThanks for running this series! It's been "sew" great!
ReplyDeleteaww boo! I missed the linky deadline : P my kids were too underfoot to do my photo shoot till school started back up today. here's my post: http://www.berrybarndesigns.com/1/post/2014/01/santa-finish-5-summer-sun-doll-bedding.html better late than never! lol
ReplyDelete